

In this heat press machine tutorial, you will be learning how to use this twin station electric heat press Model # B2-2N Pro-Max. Heat press machine tutorial have 7 + 1 videos, welcome to subscribe our YouTube channel to keep in touch.
Video 1. Overall Introduction
Video 2. Control Panel Setup
Video 3. Operation & Introduction
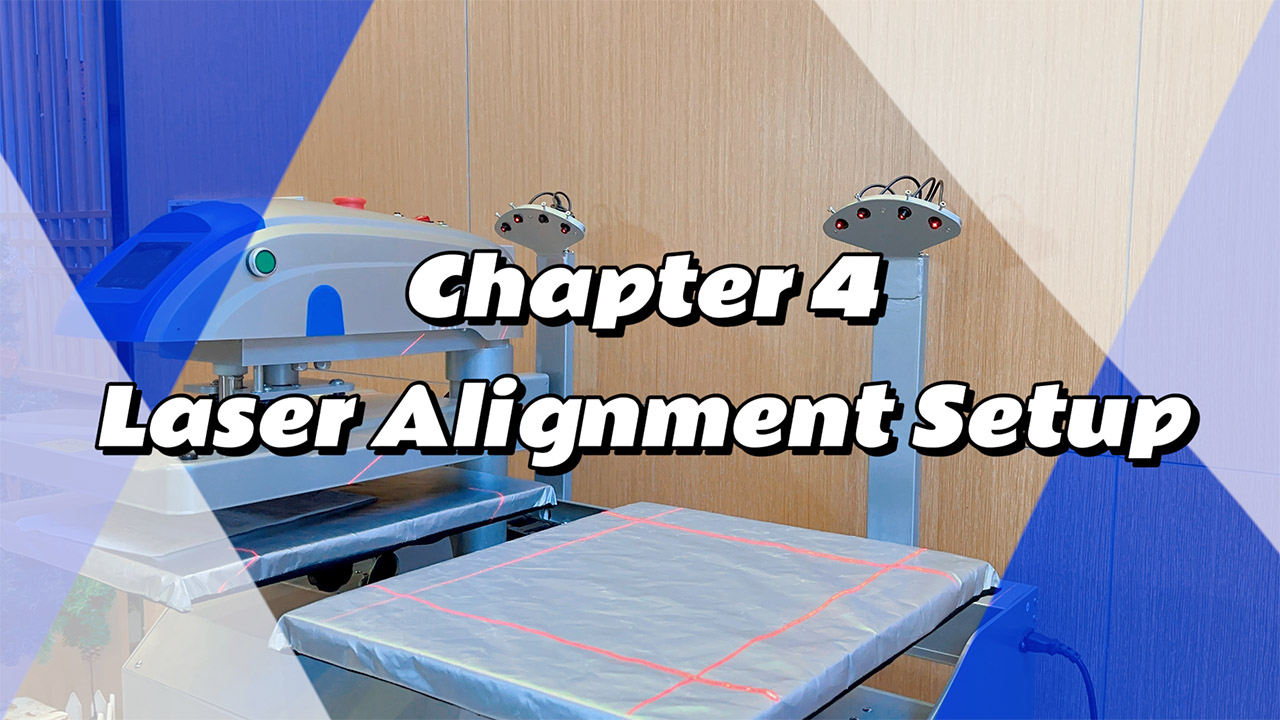
Video 4. Laser Alignment Setup
Video 5. Quick Lower Platens
Video 6. Garments Printing (Textiles Substrates)
Video 7. Ceramics Printing (Hard Substrates)
Video 8. Preview on Version 2023
In this video, we will introduce how to setup laser alignment system for vinyl location, it help with perfect position layout. Setup is very simple and you could adjust the system depending on your position.
00:00 - Intro
01:20 - Laser Alignment Setup ?
03:10 - Laser Alignment Function
I'm very thankful?that?all of you guys subscribe our Channel. In last chapter, we have already introduced the?functions of the?controller display. I hope you guys have already remembered?that?in your mind. If you forget that, Don’t?worry, you can click the link to see them again. Okay??In this chapter,?we will introduce?the other functions of this machine,?for the laser alignments,?okay??But before introduce to you I want to ask you guys some questions. The first one is have you ever met the problem that it is very hard to find the right position for your patterns on the shirts? This is the first question, and the other?one is that have you ever used a t-shirt?ruler but forget to remove it?cause?this machine in a mess condition? I think most of the customers have these?two bad experience before.?But with our listed?new laser alignment, it can very easily to solve these questions.?Do you believe it ? no??okay! no problem ! Come with me ,okay,?right now, The?first?thing we need to do is turn on the switch of laser alignment?,and?than, you will find it?has?different kind of lines shown on the plate?and right now it is in a mess condition, we need to adjust it, okay, so first,?you have to prepare a wrench like this one.
A?small wrench?in each heads,?we have the individual screws to located the laser head . So first we need to loose?it one by one. and to find a right position of them, like this one, this is the button, we need?to find?the?right position with the other?one and fixed and let's check another one. Make it in right position, Fix?it! I think this one is not in horizontal so I have to fix it again. Okay right now it's perfect.
So it is very easy to adjust?our new listed laser?alignment to meet the different kind of patterns , so that you can put?the patterns?on the shirts in right position . So right now I will show you by a blank t-shirts like this. First,?we?need?to put this on the plate make it in the?right position and put the patterns which you had prepared?
On the shirts,?like this, if you see the space of this?alignment,?it is now in the right position you can locate the patterns and than?use the wrench?to adjust?the lines to make it?in right way. So,?uh, In another side we have?the other four heads in another plate.?You will find here so that’s why?we called it?eight heads?laser alignments. It is very convenient for our customers to use it to position on the plate. uh okay friends, So today we have introduced all the information?to you guys in this chapter. In next chapter we will introduce the?operation of the controller display?so I hope you can follow us and subscribe our Channel.?let's see you next time.
Here is the product link, take it home now!
Make Friends
Facebook: https://www.facebook.com/xheatpress/
Email: sales@xheatpress.com
WeChat/WhatsApp: 86-15060880319?
#heatpress #heatpressmachine #heatpressprinting #tshirtprinting #tshirtbusiness #tshirtdesign?#sublimationprinting #sublimation #garmentprinting #heattransfermachine
Post time: Dec-13-2022
 86-15060880319
  sales@xheatpress.com